
Salmon sashimi: how to make it at home in a few simple and safe steps
I still remember the first time I shared salmon sashimi with my family—late evening, cluttered table, laughter bouncing off the walls, and that first silky bite stopping all conversation. Believe it or not, food can do that. It can hush a room. It can stitch memories together. That night did exactly that.

Why you’ll love this recipe
Let’s be real for a second—this isn’t just another pretty plate.
- Clean flavors that don’t shout, they whisper
- A recipe that respects the fish, not disguises it
- Surprisingly simple—no chef ego required
- Light yet deeply satisfying
- Hands down, it’s the best way I know to impress without stress
Table of Contents
Ingredients List
You’ll need:
- Sushi-grade salmon — vibrant color, ocean-fresh aroma (never “fishy”)
- Soy sauce — naturally brewed, low sodium if possible
- Wasabi — real paste if you can find it; powder works in a pinch
- Pickled ginger — for palate resets, not decoration
Optional but Worth It
- Toasted sesame seeds — nutty punctuation
- Yuzu juice or lemon zest — brightness without sharpness
- Daikon radish — crunch and contrast
Substitutions?
Oddly enough, if salmon isn’t available, high-quality Arctic char can step in—similar texture, milder personality.
What is salmon sashimi
To put it simply: salmon sashimi is raw salmon, sliced with intention, served without rice, and treated with reverence. It’s not about complexity. It’s about restraint. I used to think that raw fish was risky, but now I see it as honest food—nothing to hide, nowhere to run.
Timing
- Prep time: 15 minutes
- Cooking time: zero. Literally.
- Total time: 15 minutes
How to Make salmon sashimi
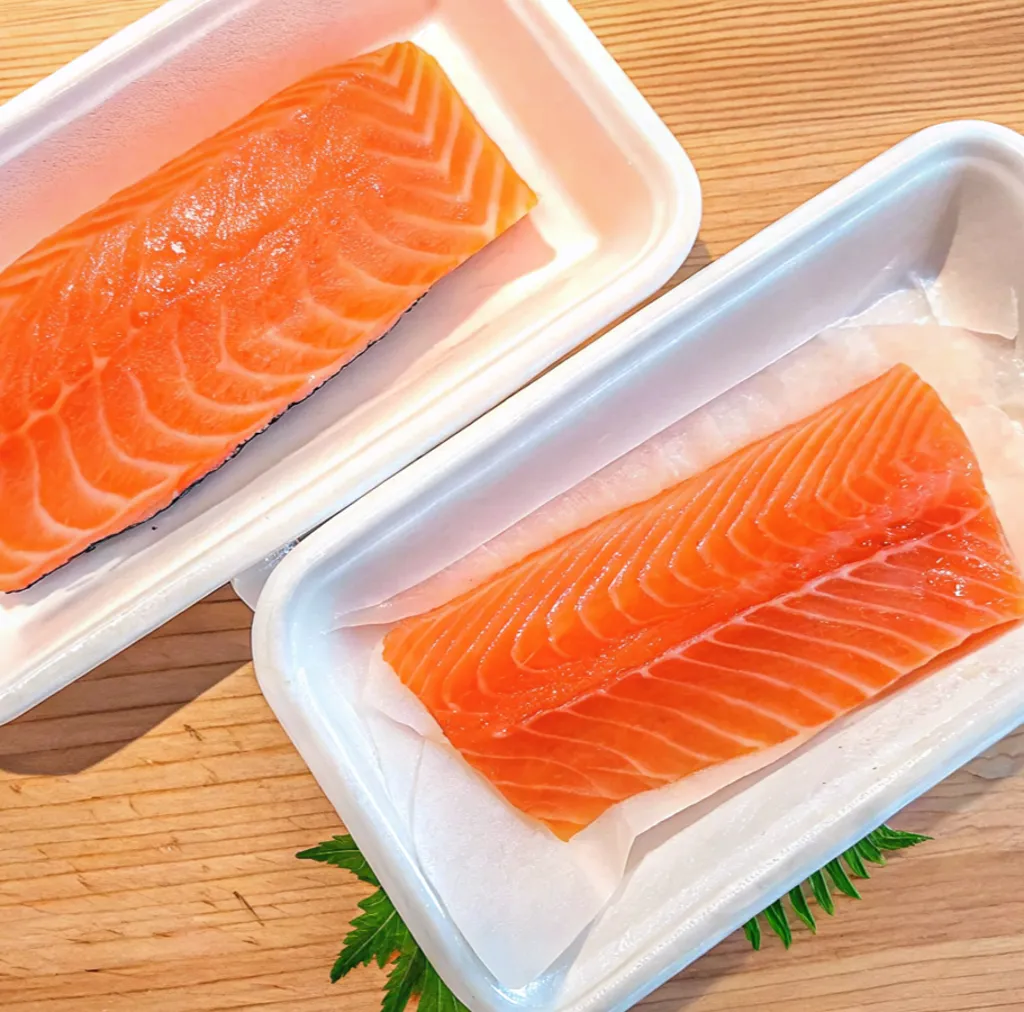
Step 1: Choosing the Fish
This step decides everything—no drama, just facts. For salmon sashimi, only sushi-grade salmon is acceptable. The flesh should look luminous, feel resilient under your fingers, and smell clean, like cold seawater. To be honest with you, if you sense hesitation—from yourself or the seller—trust that instinct and move on.
Step 2: Chilling for Precision
Cold creates control. Simple as that. Place the salmon in the refrigerator for about 10 minutes. This firms it up just enough to allow clean cuts. Side note: overchilling dulls texture, so don’t forget it in there.
Step 3: Knife Matters
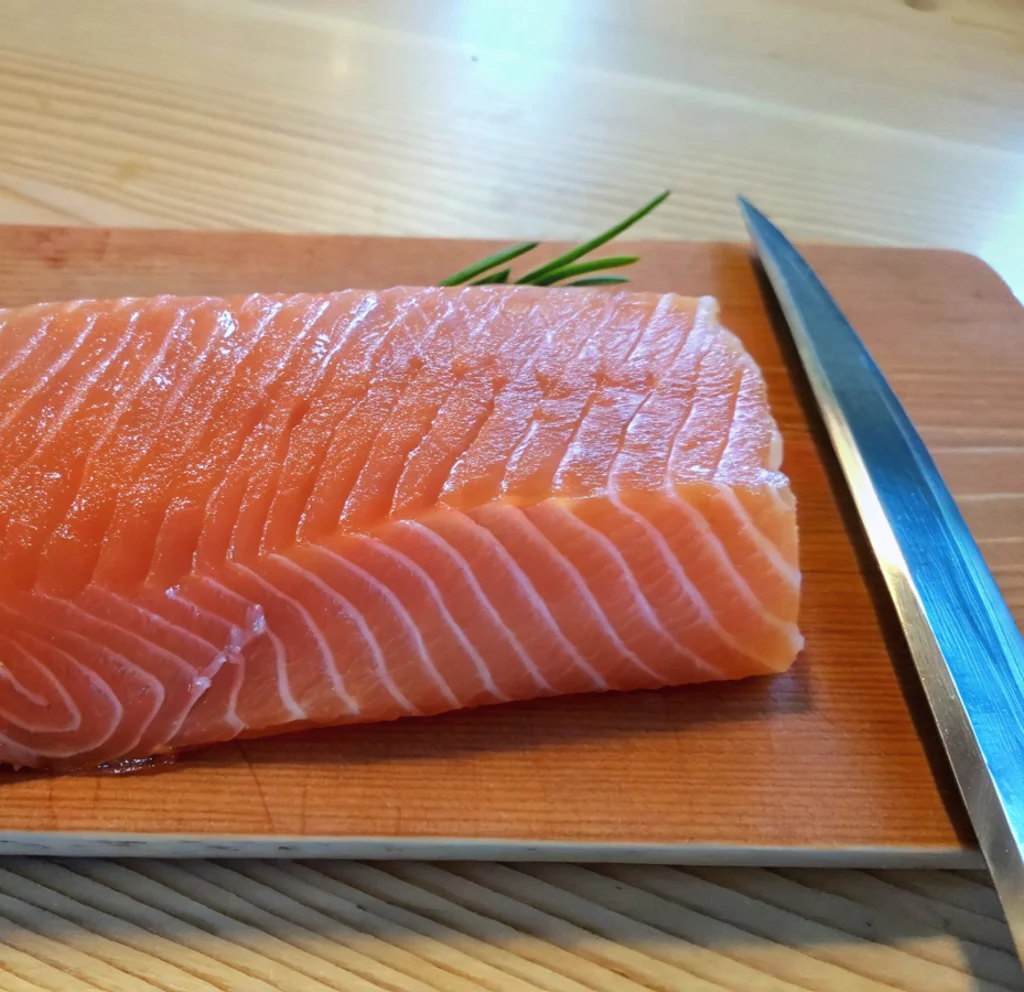
A sharp blade isn’t optional—it’s essential. Use a long slicing knife and wipe it clean between cuts. One smooth motion per slice. No pressure. Let the knife do the work, not your wrist.
Step 4: Slicing Technique
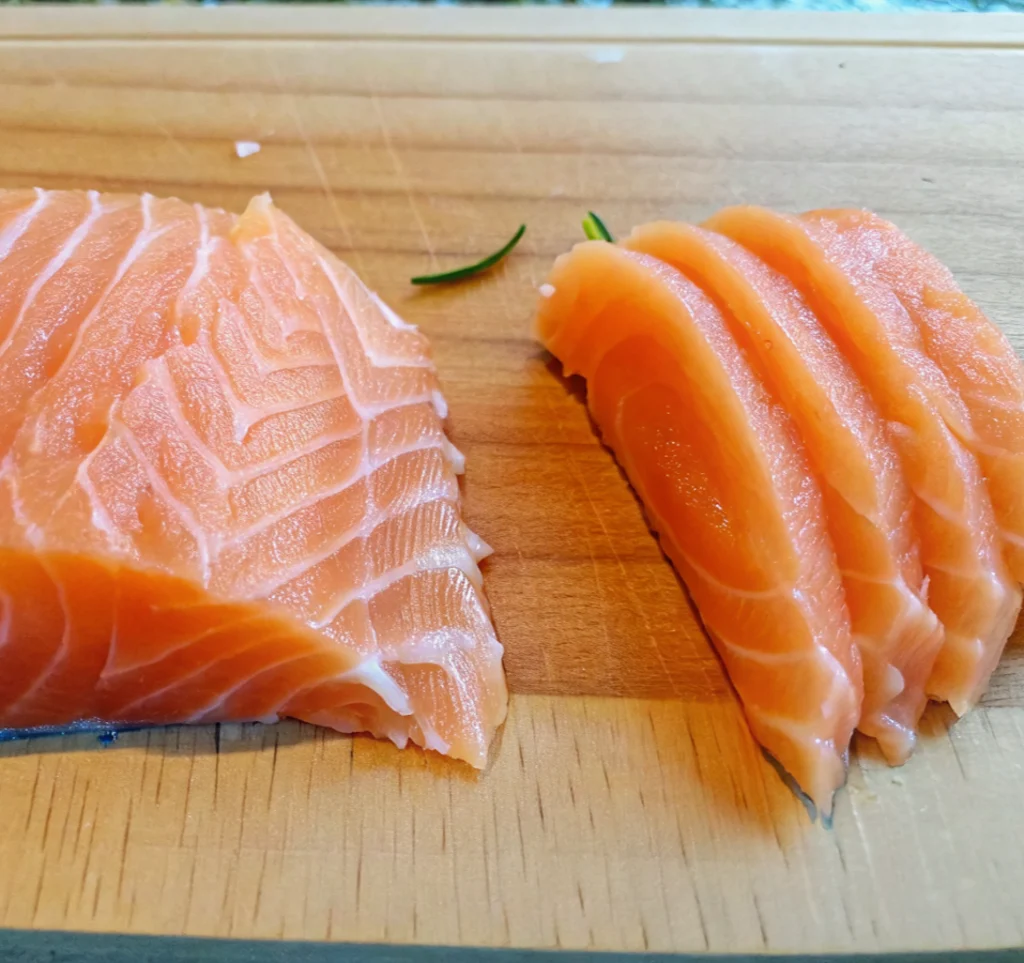
Angle equals elegance. Slice against the grain at a gentle diagonal. Medium thickness wins here—it highlights the buttery texture without overwhelming the palate. Trust me on this one.
Step 5: Plating with Intention
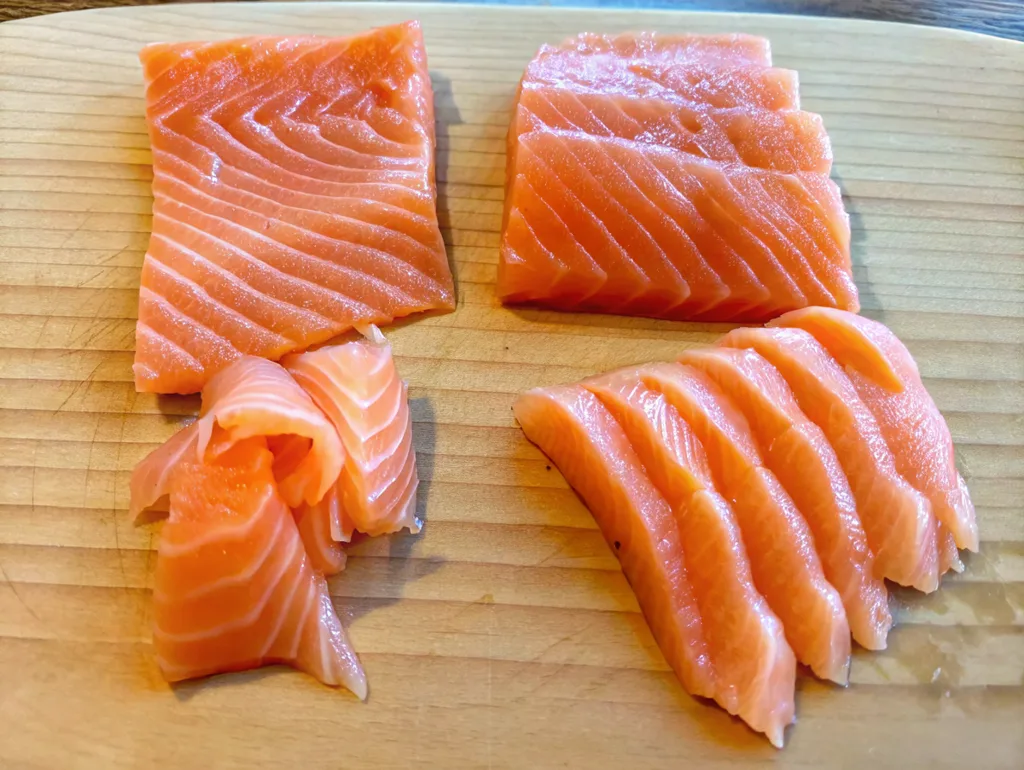
Presentation shapes expectation. Arrange slices loosely, leaving space between them. This isn’t cluttered food. This is calm food. And that’s where things get interesting.
Step 6: Final Touches
Restraint seals the deal. Add wasabi and ginger on the side, never on top. Serve immediately. Bottom line: freshness waits for no one.
Professional Cooking Tips
- Start with absolute freshness
For salmon sashimi, freshness isn’t a preference—it’s the rule. Buy the fish the same day you plan to serve it. I’ll be the first to admit: timing changes everything. - Keep everything cold
Cold salmon slices cleaner and tastes purer. Chill the fish, the knife, even the plate. The crazy part is how much smoother the texture becomes. - Slice with confidence
One decisive motion per cut. Hesitation bruises the flesh and ruins the look. Trust me on this one—commit. - Less seasoning, more respect
Avoid marinades and heavy sauces. Make no mistake about it, the goal is to taste the fish, not the extras. - Serve immediately
Salmon sashimi doesn’t wait. At the end of the day, delay is the enemy of perfection.
How do you serve salmon sashimi
When serving salmon sashimi, atmosphere matters more than people expect.
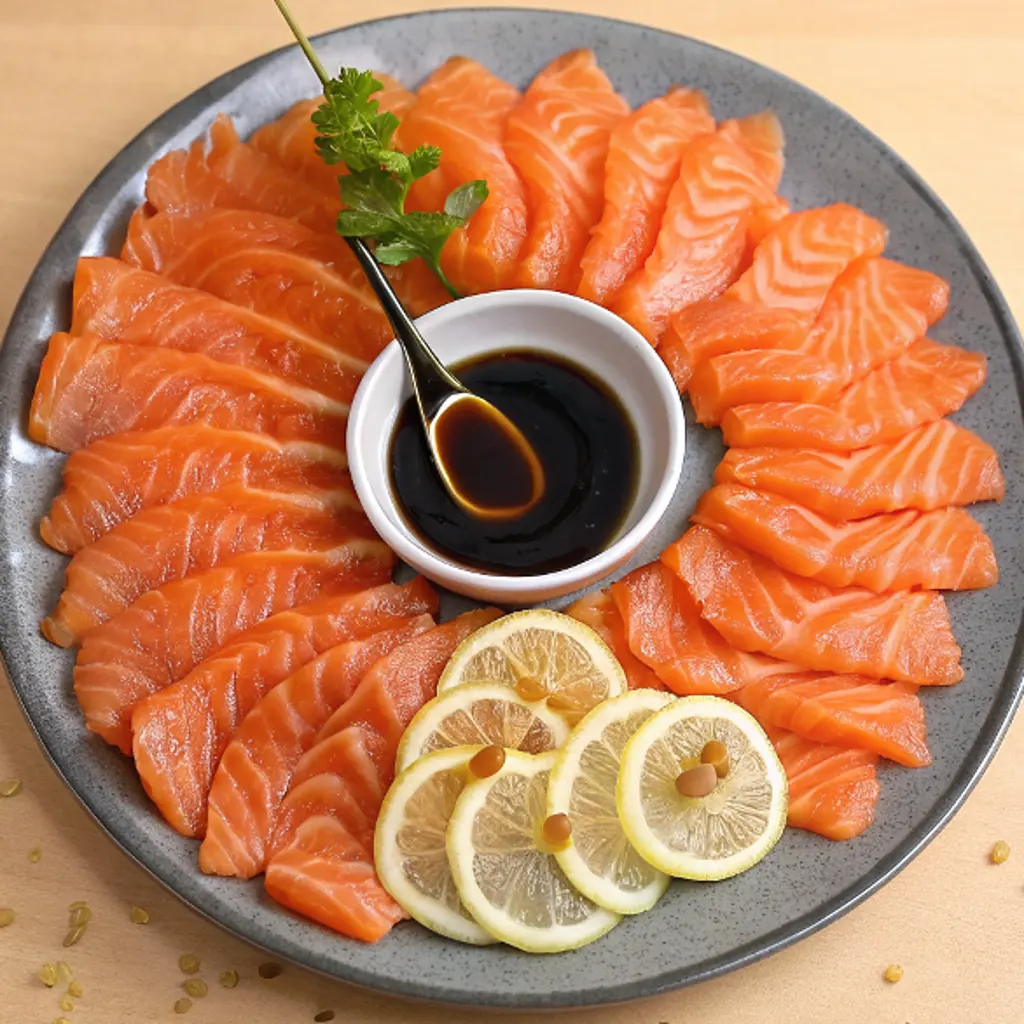
Present it on a chilled ceramic or stone plate—the cool surface preserves texture and flavor. To put it simply, temperature is part of the recipe. Pair the slices with pickled ginger and a whisper of wasabi on the side, never stacked on top. I used to think garnish was decoration, but now I see it as balance.
For drinks, dry sake, crisp white wine, or even sparkling water works beautifully. Oddly enough, silence helps too—this is food that deserves a pause. Add soft lighting, serve immediately, and let everyone lean in. Hands down, it’s the best way to let salmon sashimi speak for itself.
How to Store and Reheat
Let’s be honest—this dish isn’t meant for leftovers. Still, life happens. If you must store salmon sashimi, wrap it tightly in parchment, then plastic, and refrigerate for no more than 24 hours. Reheating? Don’t. Ever. Truth be told, once it’s raw, reheating changes its soul. Eat it fresh or let it go.
Similar recipes you’ll want to try
- Cold Smoked Salmon How to Make It Perfectly at Home
- How to Make a Cast Iron Salmon Amazing: Tips & Tricks
- Steelhead Trout Recipe 7 Easy Steps You Will Not Regret Trying
- Salmon Bites Recipe – Easy, Crispy, and Delicious Appetizer
- Sashimi
Nutritional Information
Here’s where science backs pleasure.
- High-quality protein — supports muscle repair
- Omega-3 fatty acids — heart and brain friendly
- Vitamin D — mood and immunity booster
- Low carbohydrates — clean energy

Salmon sashimi: how to make it at home in a few simple and safe steps
Ingredients
- Sushi-grade salmon
- Soy sauce
- Wasabi
- Pickled ginger
- Optional
- Toasted sesame seeds
- Yuzu juice or lemon zest
- Daikon radish
Instructions
Step 1: Choosing the Fish
- This step decides everything—For salmon sashimi, only sushi-grade salmon is acceptable. The flesh should look luminous, feel resilient under your fingers, and smell clean
Step 2: Chilling for Precision
- Cold creates control. Place the salmon in the refrigerator for about 10 minutes. This firms it up just enough to allow clean cuts.
Step 3: Knife Matters
- A sharp blade isn’t optional—it’s essential. Use a long slicing knife and wipe it clean between cuts. One smooth motion per slice. No pressure.
Step 4: Slicing Technique
- Angle equals elegance. Slice against the grain at a gentle diagonal. Medium thickness wins here
Step 5: Plating with Intention
- Presentation shapes expectation. Arrange slices loosely, leaving space between them. This isn’t cluttered food.
Step 6: Final Touches
- Restraint seals the deal. Add wasabi and ginger on the side, never on top. Serve immediately. Bottom line: freshness waits for no one.
Notes
Nutritional Information
- High-quality protein — supports muscle repair
- Omega-3 fatty acids — heart and brain friendly
- Vitamin D — mood and immunity booster
- Low carbohydrates — clean energy
FAQs
How to prepare salmon for sashimi?
Start with sushi-grade fish. Clean tools. Cold temperature. Sharp knife. Respect the process.
Can you eat raw salmon as sashimi?
Yes—if it’s sourced and handled correctly. Off the record, quality matters more than technique.
Do you marinate salmon for sashimi?
No. Never. That masks flavor. Let the fish speak.
What sauce goes with salmon sashimi?
Soy sauce, ponzu, or nothing at all. You’re absolutely right if you choose restraint.
Conclusion
Long story short, salmon sashimi is simplicity sharpened to a point. Fresh fish, thoughtful cuts, and confidence—that’s the formula. At the end of the day, try it yourself. Share your experience in the comments, tell me what surprised you, and subscribe for more honest food stories. The point I’m trying to make is simple: start slicing.
Leave a Comment
Your email address will not be published.
There are no reviews yet. Be the first one to write one.