
Best Kimchi Chicken Fried Rice Recipe | Easy Korean-Inspired Dinner
Kimchi Chicken Fried Rice is a flavorful Korean-inspired dish that combines tender chicken, savory rice, and tangy fermented kimchi in one satisfying meal. Known for its bold balance of spicy, smoky, and umami-rich flavors, this easy fried rice recipe transforms simple ingredients into a quick and delicious dinner. Whether you’re looking for a creative way to use leftover rice or a fast weeknight meal packed with flavor, Kimchi Chicken Fried Rice delivers the perfect combination of comfort and taste in every bite.
What Is Kimchi Chicken Fried Rice?
Kimchi Chicken Fried Rice is a Korean-inspired rice dish that combines cooked rice, flavorful chicken, fermented kimchi, and savory seasonings in a sizzling skillet. fast, fiery, and deeply satisfying I’ll be the first to admit that I underestimated it initially. kimchi in fried rice sounded strange. But the fermented cabbage caramelizes in the hot pan, loses its sharpness, and develops this gorgeous, almost smoky sweetness that transforms the entire dish. Trust me on this one.
Explore our complete Chicken Rice Recipes collection for more easy and flavorful chicken and rice meals.
Why You’ll Love This Recipe
- Big flavor with minimal effort — the kimchi does most of the heavy lifting, adding tang, heat, and depth without a long list of spices.
- Incredibly flexible — swap the protein, adjust the heat level, throw in whatever vegetables are lounging in your crisper drawer.
- Perfect for leftovers — day-old rice is the secret weapon here; it fries up crispy instead of mushy, every single time.
Ingredients You’ll Need
Main Ingredients
- 2 cups cooked day-old rice — jasmine or long-grain works best; leftover rice from the fridge fries far better than fresh
- 1 cup kimchi, roughly chopped — the more fermented, the more flavor; aged kimchi is pure gold here
- 2 tablespoons kimchi brine — don’t throw it away! This liquid is liquid flavor
- 300g (about 10 oz) chicken breast or thigh — thigh is juicier and more forgiving; breast works fine if sliced thin
- 3 cloves garlic, minced
- 1 tablespoon sesame oil — adds that nutty, toasty finish right at the end
- 2 tablespoons neutral oil (vegetable or avocado) — for high-heat cooking
- 2 tablespoons soy sauce — or tamari for a gluten-free version
- 1 tablespoon gochujang (optional) — Korean chili paste that takes the heat up a serious notch
- 2 eggs
- 2 spring onions, sliced — for garnish and freshness
- Toasted sesame seeds — a finishing touch that matters
Smart Substitutions
- Chicken – Tofu, shrimp, or leftover rotisserie chicken
- Soy sauce – Tamari (gluten-free) or coconut aminos
- Gochujang – Sriracha or chili flakes
- Day-old rice – Microwave rice pouches, cooled and broken apart
- Sesame oil – A small drizzle of chili oil for extra kick
Timing
Prep time : 10 minutes
Cooking time : 15 minutes
Total time : 25 minutes
That’s it — 25 minutes, start to finish. Compare that to the 45-60 minutes most homemade rice dishes demand
How to Make Kimchi Chicken Fried Rice
Step 1: Prep Everything Before You Touch the Heat
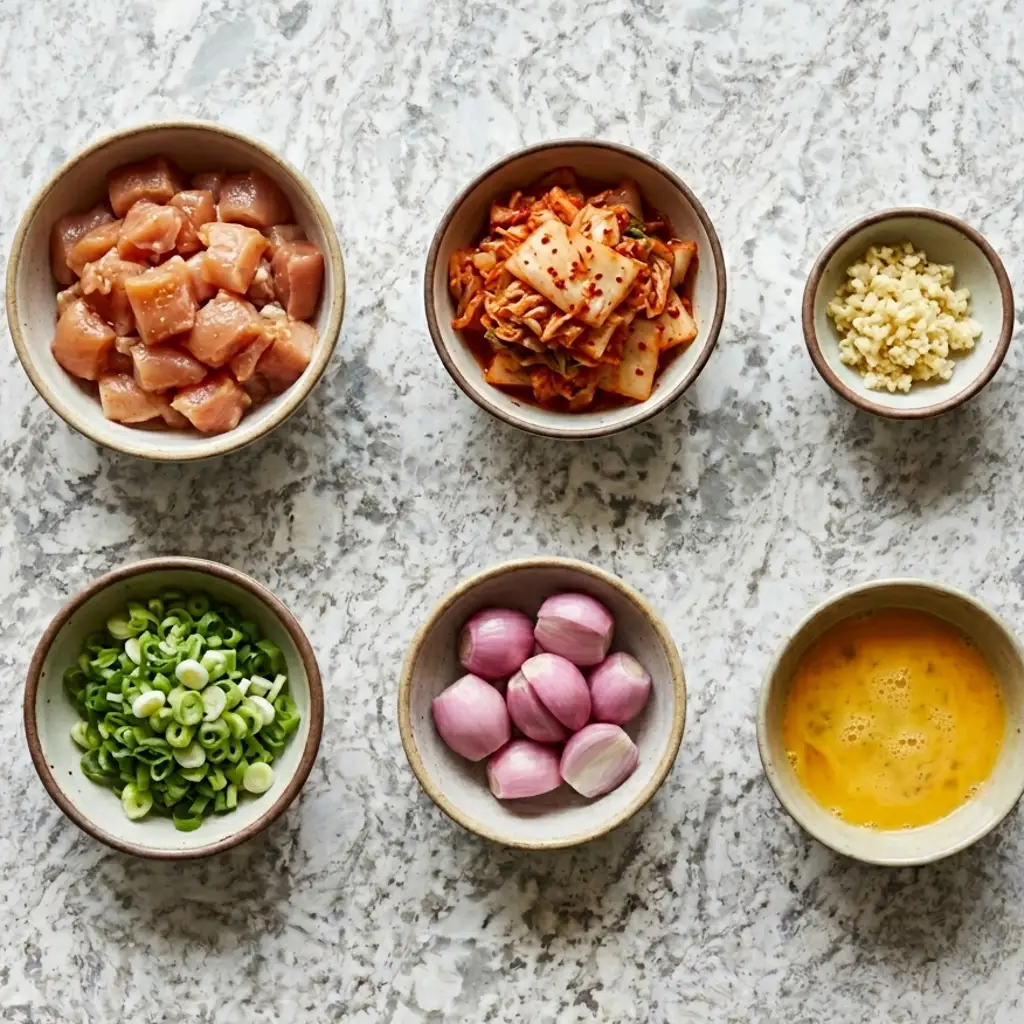
Dice the chicken into small, bite-sized pieces. Chop the kimchi roughly — nothing fussy, just chunky pieces. Mince the garlic. Slice the spring onions. Beat the eggs separately in a small bowl.
Step 2: Cook the Chicken

Heat 1 tablespoon of neutral oil in a wok or large skillet over high heat. Add the chicken, season lightly with a pinch of salt, and let it sear — don’t stir it immediately. Give it 2 minutes undisturbed so it picks up color, then toss and cook through, about 3-4 minutes total. Remove and set aside.
Step 3: Fry the Kimchi and Garlic

In the same pan, add the remaining oil. Toss in the garlic first — just 30 seconds, until fragrant — then add the chopped kimchi and kimchi brine. Let it cook for 2-3 minutes, stirring occasionally. The kimchi will start to caramelize and darken slightly at the edges. That’s exactly what you want.
Step 4: Add the Rice
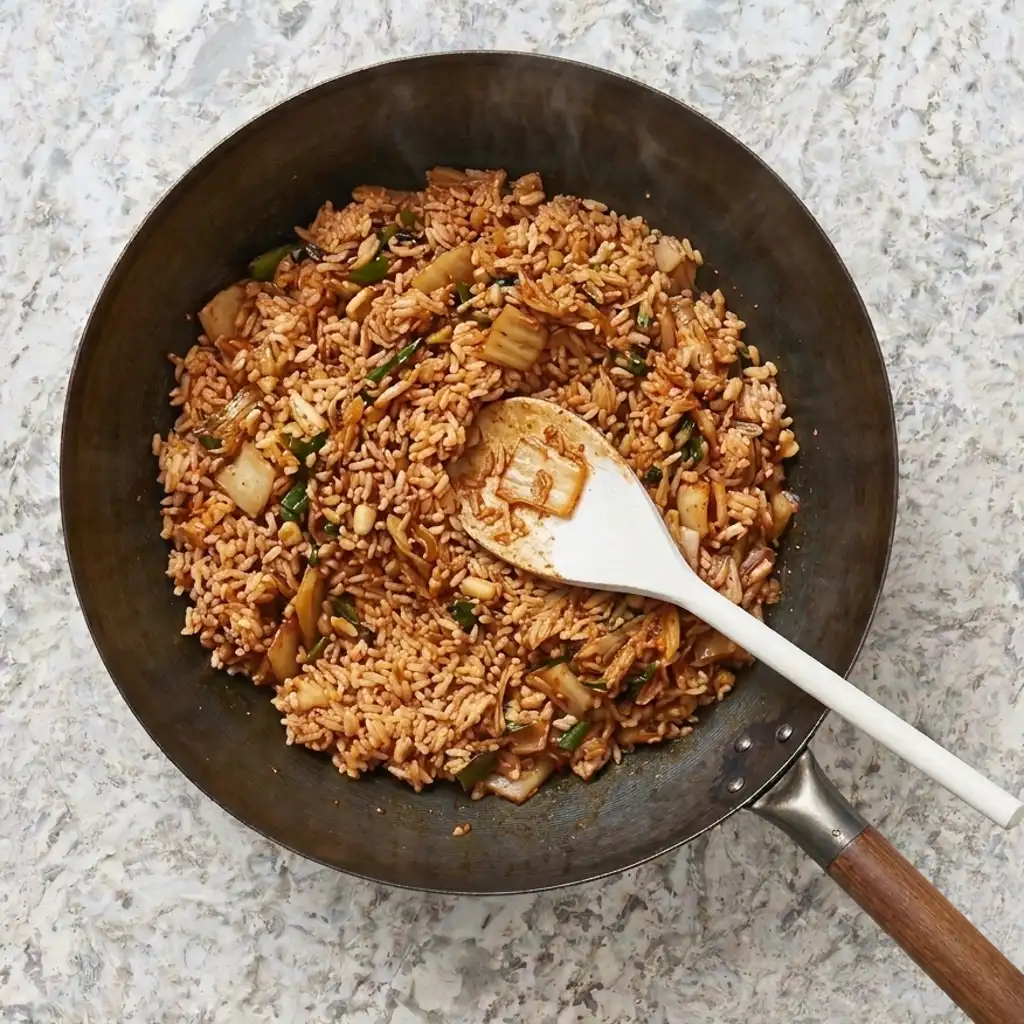
Break up the cold rice with your hands before adding it — this prevents clumping. Add it to the pan and press it flat against the surface. Let it sit for a full 60 seconds without stirring. That’s where the crispy bottom forms. Then toss everything together, mixing the kimchi through the rice.
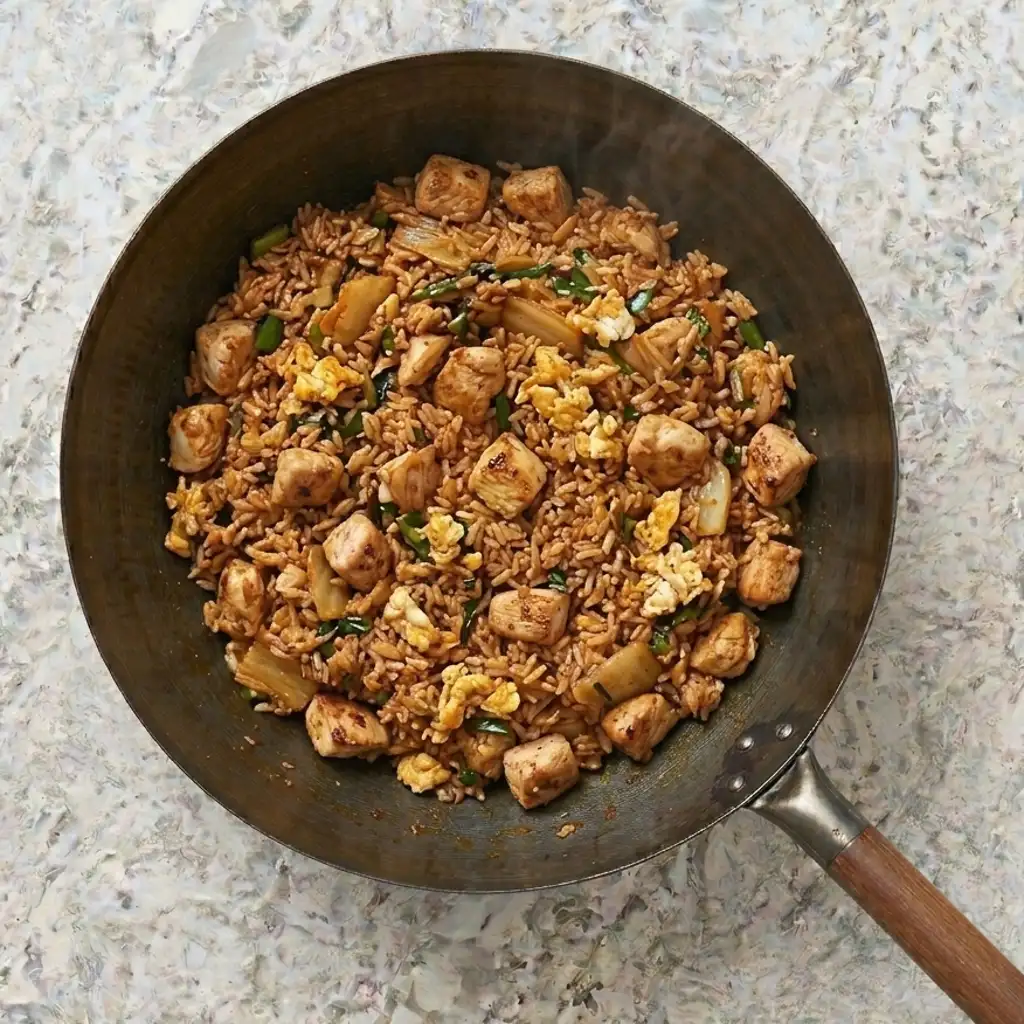
Step 5: Eggs and Chicken Back In
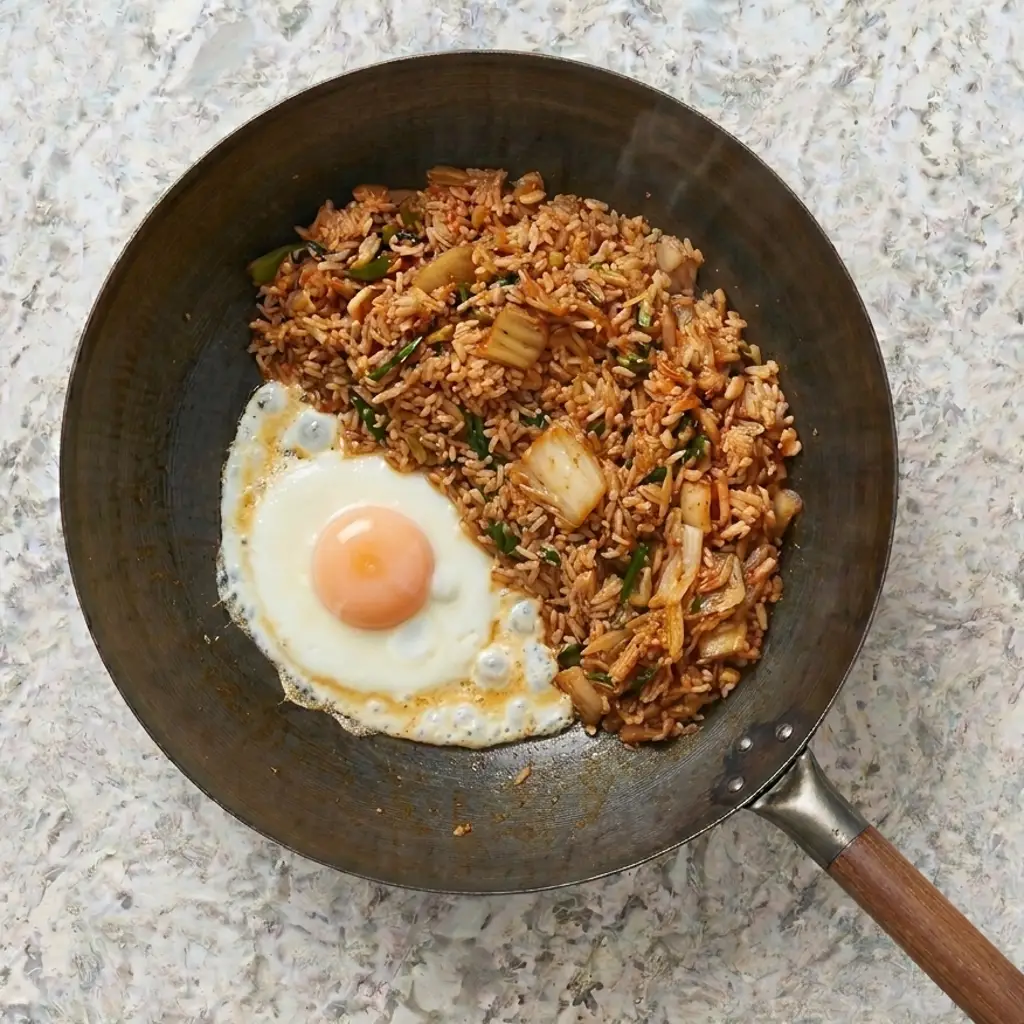
Push the rice to the sides of the pan, creating a clear space in the center. Pour in the beaten eggs and scramble them quickly — 45-60 seconds until just set, then fold them into the rice while still slightly soft. Return the cooked chicken to the pan and toss everything together one final time.
Step 6: Finish and Serve
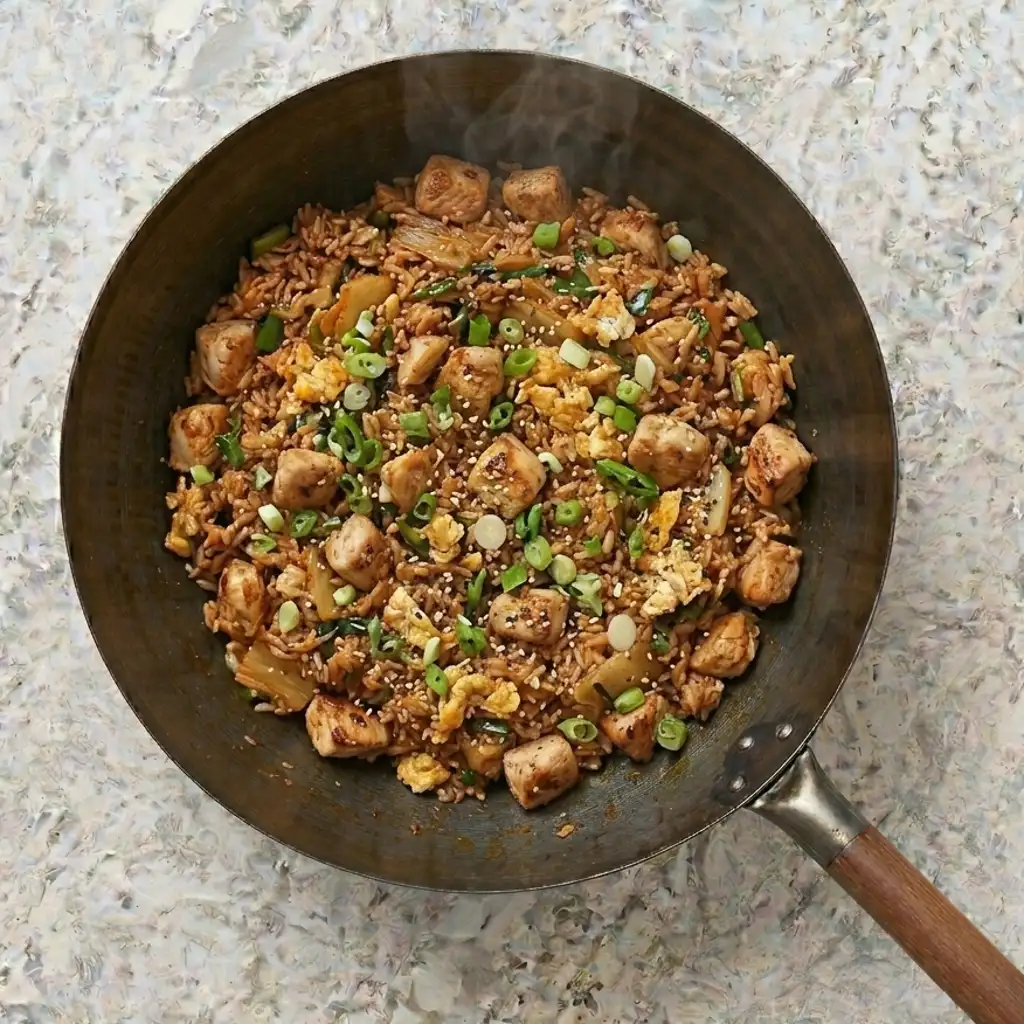
Remove from heat. Drizzle sesame oil over the top — don’t cook it; add it off the heat to preserve that delicate nutty aroma. Scatter spring onions and sesame seeds. Serve immediately.
Tips for the Best Kimchi Chicken Fried Rice
- Cold rice is non-negotiable. Fresh rice is too moist and will clump into a sticky mess. If you’re making this same-day, spread the rice on a baking sheet and refrigerate it for at least an hour.
- High heat is your friend. This dish needs serious heat to develop the wok hei — that subtle charred, smoky quality you get from restaurant fried rice. Don’t turn it down because it looks aggressive; embrace it.
- Don’t skip the kimchi brine. It adds concentrated flavor and a touch of liquid that keeps the rice from drying out mid-cook.
- Taste before you season. Kimchi and soy sauce are both salty by nature. Add salt only at the very end if it genuinely needs it.
Make-Ahead, Storage & Reheating Tips
Can You Make It Ahead? You can prep the components ahead — cook and slice the chicken, chop the kimchi, cook the rice the night before. The actual stir-fry is so fast (15 minutes) that assembling it fresh is always the better call.
How to Store: Let the rice cool completely, then transfer to an airtight container. It keeps in the refrigerator for up to 4 days. Do not leave it at room temperature for more than 2 hours — rice is one of those things that goes wrong quietly.
How to Reheat: The best method — hands down — is the stovetop. Add a splash of water or a tiny drizzle of oil to a hot pan, add the rice, and toss for 3-4 minutes until hot throughout. The microwave works in a pinch: cover with a damp paper towel and heat in 90-second bursts, stirring between rounds. Avoid the oven; it dries everything out.
How Long to Cook Kimchi Chicken Fried Rice
The actual cooking time is 15 minutes — but let me be honest with you: the quality of those 15 minutes depends on what happened before them. Prep is 10 minutes, and the rice needs to have been cold for at least an hour (ideally overnight). The crazy part is that the total active time at the stove is barely a quarter-hour. Once you’ve made it twice, the whole thing flows instinctively — the timing becomes second nature, and you’ll find yourself cooking it almost on autopilot.
Best Seasonings for Kimchi Chicken Fried Rice
Bottom line — the kimchi itself carries most of the seasoning load, which is part of what makes this dish so effortless. Beyond that: soy sauce for depth, sesame oil for nuttiness, and gochujang for heat and a subtle sweetness. Garlic is non-negotiable. A little white pepper adds background warmth without announcing itself. That’s the short list, and oddly enough, restraint is what makes this dish taste so clean and intentional.
Variations of Kimchi Chicken Fried Rice
Spicy Kimchi Chicken Fried Rice
Double the gochujang, add a teaspoon of chili flakes, and top with a drizzle of chili oil. This version is for people who consider “mild” an insult. Believe it or not, the extra heat actually makes it more addictive, not less.
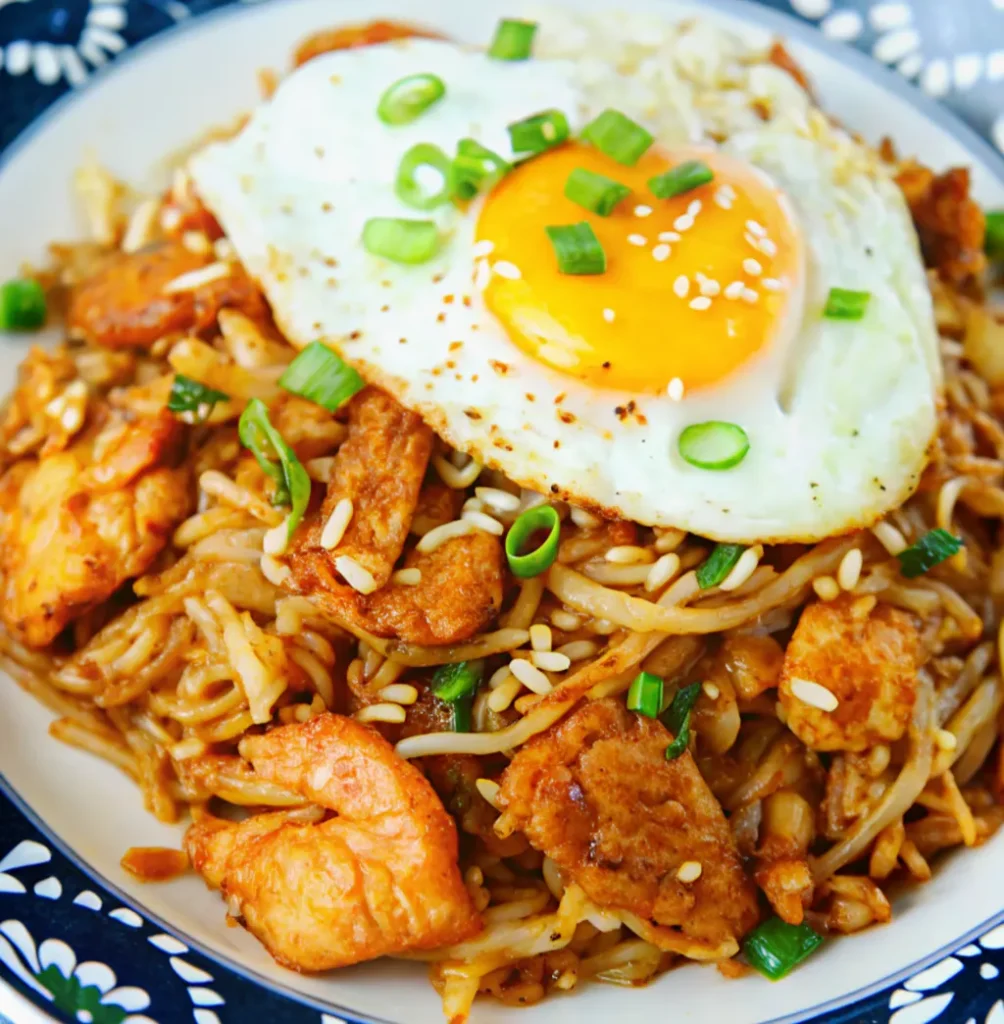
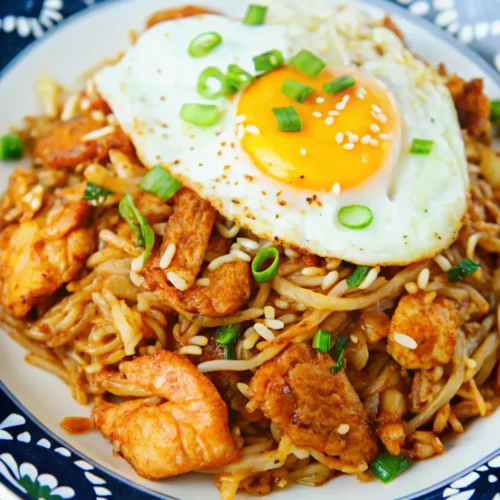
Kimchi Fried Rice with Fried Egg
The classic upgrade. A crispy-edged fried egg on top — yolk still runny — turns this into something you’d happily pay for at a restaurant. The egg is not optional. It is the move.
Kimchi Chicken Fried Rice with Vegetables
Add shredded carrots, frozen peas, corn, or thinly sliced zucchini at the kimchi stage. They cook fast and add color, texture, and extra nutrition without changing the flavor profile.
Low-Carb Kimchi Chicken Rice Bowl
Swap regular rice for cauliflower rice. It won’t be identical — nothing ever is — but it’s genuinely good, and the bold kimchi flavor more than compensates for the swap.
Extra Crispy Kimchi Fried Rice
Use more oil, press the rice flat and leave it completely alone for 2-3 minutes to form a proper crust. Flip sections of it like a pancake. This is a game-changer for anyone who craves texture above all else.
Best Rice for Kimchi Chicken Fried Rice
- Jasmine Rice The top choice. It has a subtle floral fragrance and slightly sticky texture that holds together beautifully without turning gummy.
- Long-Grain White Rice A reliable option. Drier than jasmine, which means it crisps up easily and doesn’t clump. The flavor is more neutral, which lets the kimchi and seasonings shine through.
- Brown Rice It works — and it adds a nuttiness that complements the kimchi surprisingly well. The texture is chewier and denser. Give it an extra minute or two in the pan to fully heat through.
- Leftover Rice Truly, the best rice is whatever you have sitting in the fridge from last night. Day-old rice — regardless of variety — is drier, firmer, and fries like a dream.
What to Serve with Kimchi Chicken Fried Rice
- Fried egg on top — a runny yolk draped over the rice is nothing short of spectacular; the yolk becomes a rich, silky sauce
- Korean cucumber salad (oi muchim) — the cool, crisp crunch cuts right through the richness of the fried rice
- Miso soup — simple, warming, and a beautiful contrast in both flavor and texture
- Steamed edamame — light, easy, and perfect for keeping hands busy while the main dish disappears
- Pickled daikon — the acidity brightens every bite
- A cold Korean beer or barley tea — because some pairings are just right
Nutritional Information
Per serving (approximately 1.5 cups), based on 4 servings:
- Calories: ~420 kcal
- Protein: 28g
- Carbohydrates: 48g
- Fat: 12g
- Fiber: 3g
Best Kimchi Chicken Fried Rice Recipe | Easy Korean-Inspired Dinner
Ingredients
- 2 cups cooked day-old rice
- 1 cup kimchi roughly chopped
- 2 tablespoons kimchi brine
- 300 g about 10 oz chicken breast or thigh
- 3 cloves garlic minced
- 1 tablespoon sesame oil
- 2 tablespoons neutral oil vegetable or avocado
- 2 tablespoons soy sauce
- 1 tablespoon gochujang optional
- 2 eggs
- 2 spring onions sliced
- Toasted sesame seeds
Instructions
Step 1: Prep Everything Before You Touch the Heat
- Dice the chicken into small, bite-sized pieces. Chop the kimchi roughly — Mince the garlic. Slice the spring onions. Beat the eggs separately in a small bowl.
Step 2: Cook the Chicken
- Heat 1 tablespoon of oil in a wok or large skillet over high heat. Add the chicken, season lightly with a pinch of salt, and let it brown—do not stir immediately. Let it cook for 2 minutes without stirring, then flip it and cook thoroughly for 3–4 minutes.
Step 3: Fry the Kimchi and Garlic
- In the same pan, add the remaining oil. Add the garlic first—just for 30 seconds—then add the chopped kimchi and kimchi brine. Let it cook for 2–3 minutes, stirring occasionally.
Step 4: Add the Rice
- Break up the cold rice with your hands before adding it to the pan. Let it sit for a full 60 seconds without stirring. Then mix everything together, combining the kimchi with the rice.
Step 5: Eggs and Chicken Back In
- Push the rice to the sides of the pan. Pour in the beaten eggs and stir quickly—for 45–60 seconds until they set slightly, then add them to the rice while they’re still slightly runny. Return the cooked chicken to the pan and toss the ingredients together one last time.
Step 6: Finish and Serve
- Remove the pan from the heat. Drizzle sesame oil over the dish after removing the pan from the heat. Sprinkle with green onions and sesame seeds. Serve immediately.
Notes
Nutritional Information
- Calories: ~420 kcal
- Protein: 28g
- Carbohydrates: 48g
- Fat: 12g
- Fiber: 3g
Frequently Asked Questions
Can I Use Fresh Rice Instead of Day-Old Rice?
Yes, but the texture won’t be quite the same. Fresh rice contains more moisture and may become sticky. If necessary, spread fresh rice on a tray and chill it before cooking.
Is Kimchi Chicken Fried Rice Spicy?
Usually moderately spicy. However, the heat level depends largely on the kimchi and whether gochujang is added.
What Type of Kimchi Works Best?
Traditional napa cabbage kimchi delivers the most authentic flavor. Well-fermented kimchi generally provides deeper taste.
Can You Freeze Kimchi Fried Rice?
Yes. Store it in freezer-safe containers for up to two months. Thaw overnight in the refrigerator before reheating.
More Chicken Rice Recipes
- If you’re craving a creamy and comforting meal, this Chicken Broccoli Rice Casserole combines tender chicken, rice, broccoli, and cheese in every bite.
- For a fresh and zesty twist, try this Lemon and Chicken Rice recipe packed with bright citrus flavor and fluffy rice.
- Explore a Hawaiian classic with this Chicken Long Rice Recipe featuring tender chicken and savory noodles in a light, flavorful broth.
- This easy Forgotten Chicken Recipe is a family favorite that combines chicken, rice, and simple ingredients for a fuss-free oven dinner.
- Enjoy a hearty one-pot meal with this Chicken Rice and Beans Recipe loaded with protein, flavor, and comforting ingredients perfect for any night of the week.
Conclusion
Kimchi Chicken Fried Rice is one of those dishes that earns a permanent place in your weekly rotation — fast enough for a weeknight, bold enough to impress, and forgiving enough to accommodate whatever’s left in the fridge. It’s tangy, savory, slightly crispy, and completely addictive. At the end of the day, the best recipes are the ones you actually make — and this one delivers every single time.
Give it a try this week — then come back and tell me how it went! Leave a comment, share your variation
Leave a Comment
Your email address will not be published.
There are no reviews yet. Be the first one to write one.